
What is Pi-hole and why run it on Windows?
Two years ago I wrote a step by step guide explaining how to install Pi-hole on Windows 10 to block ads on your home network.
I definitely was not prepared for the response! The post received hundreds of thousands of visits and heaps of helpful comments that helped me improve and refine the instructions. I wrote the blog so that I’d have a go-to guide in case I ever had to set up Pi-hole on a new Windows install. However I somehow accidentally became the creator of an online resource that helps a community of tinkerers have a slightly better online life.
Anyway, times move on. Pi-hole and Windows have continued to evolve over the past two years. I recently built a new computer and moved to Windows 11. So here’s an updated guide of how to Install Pi-hole on Windows 11.
If you’re wondering if it’s worth running Pi-hole on Windows, or should I just buy a Raspberry Pi, take a look at my review of Pi-hole on Windows.
What you’ll need
A Windows 11 PC which you’re happy to leave on all of the time. Preferably a power efficient, quiet PC. In my case I’m using an Intel NUC. Don’t forget to change your power settings to prevent your PC from going to sleep.
Since the original version of this guide, it’s now possible to install Docker on both Home and Professional versions of Windows. This is thanks to a new technology called Windows Subsystem for Linux (WSL).
If you have a Mac, you can also install Pi-hole on MacOS using a similar process to the one described below.
Step by step instructions
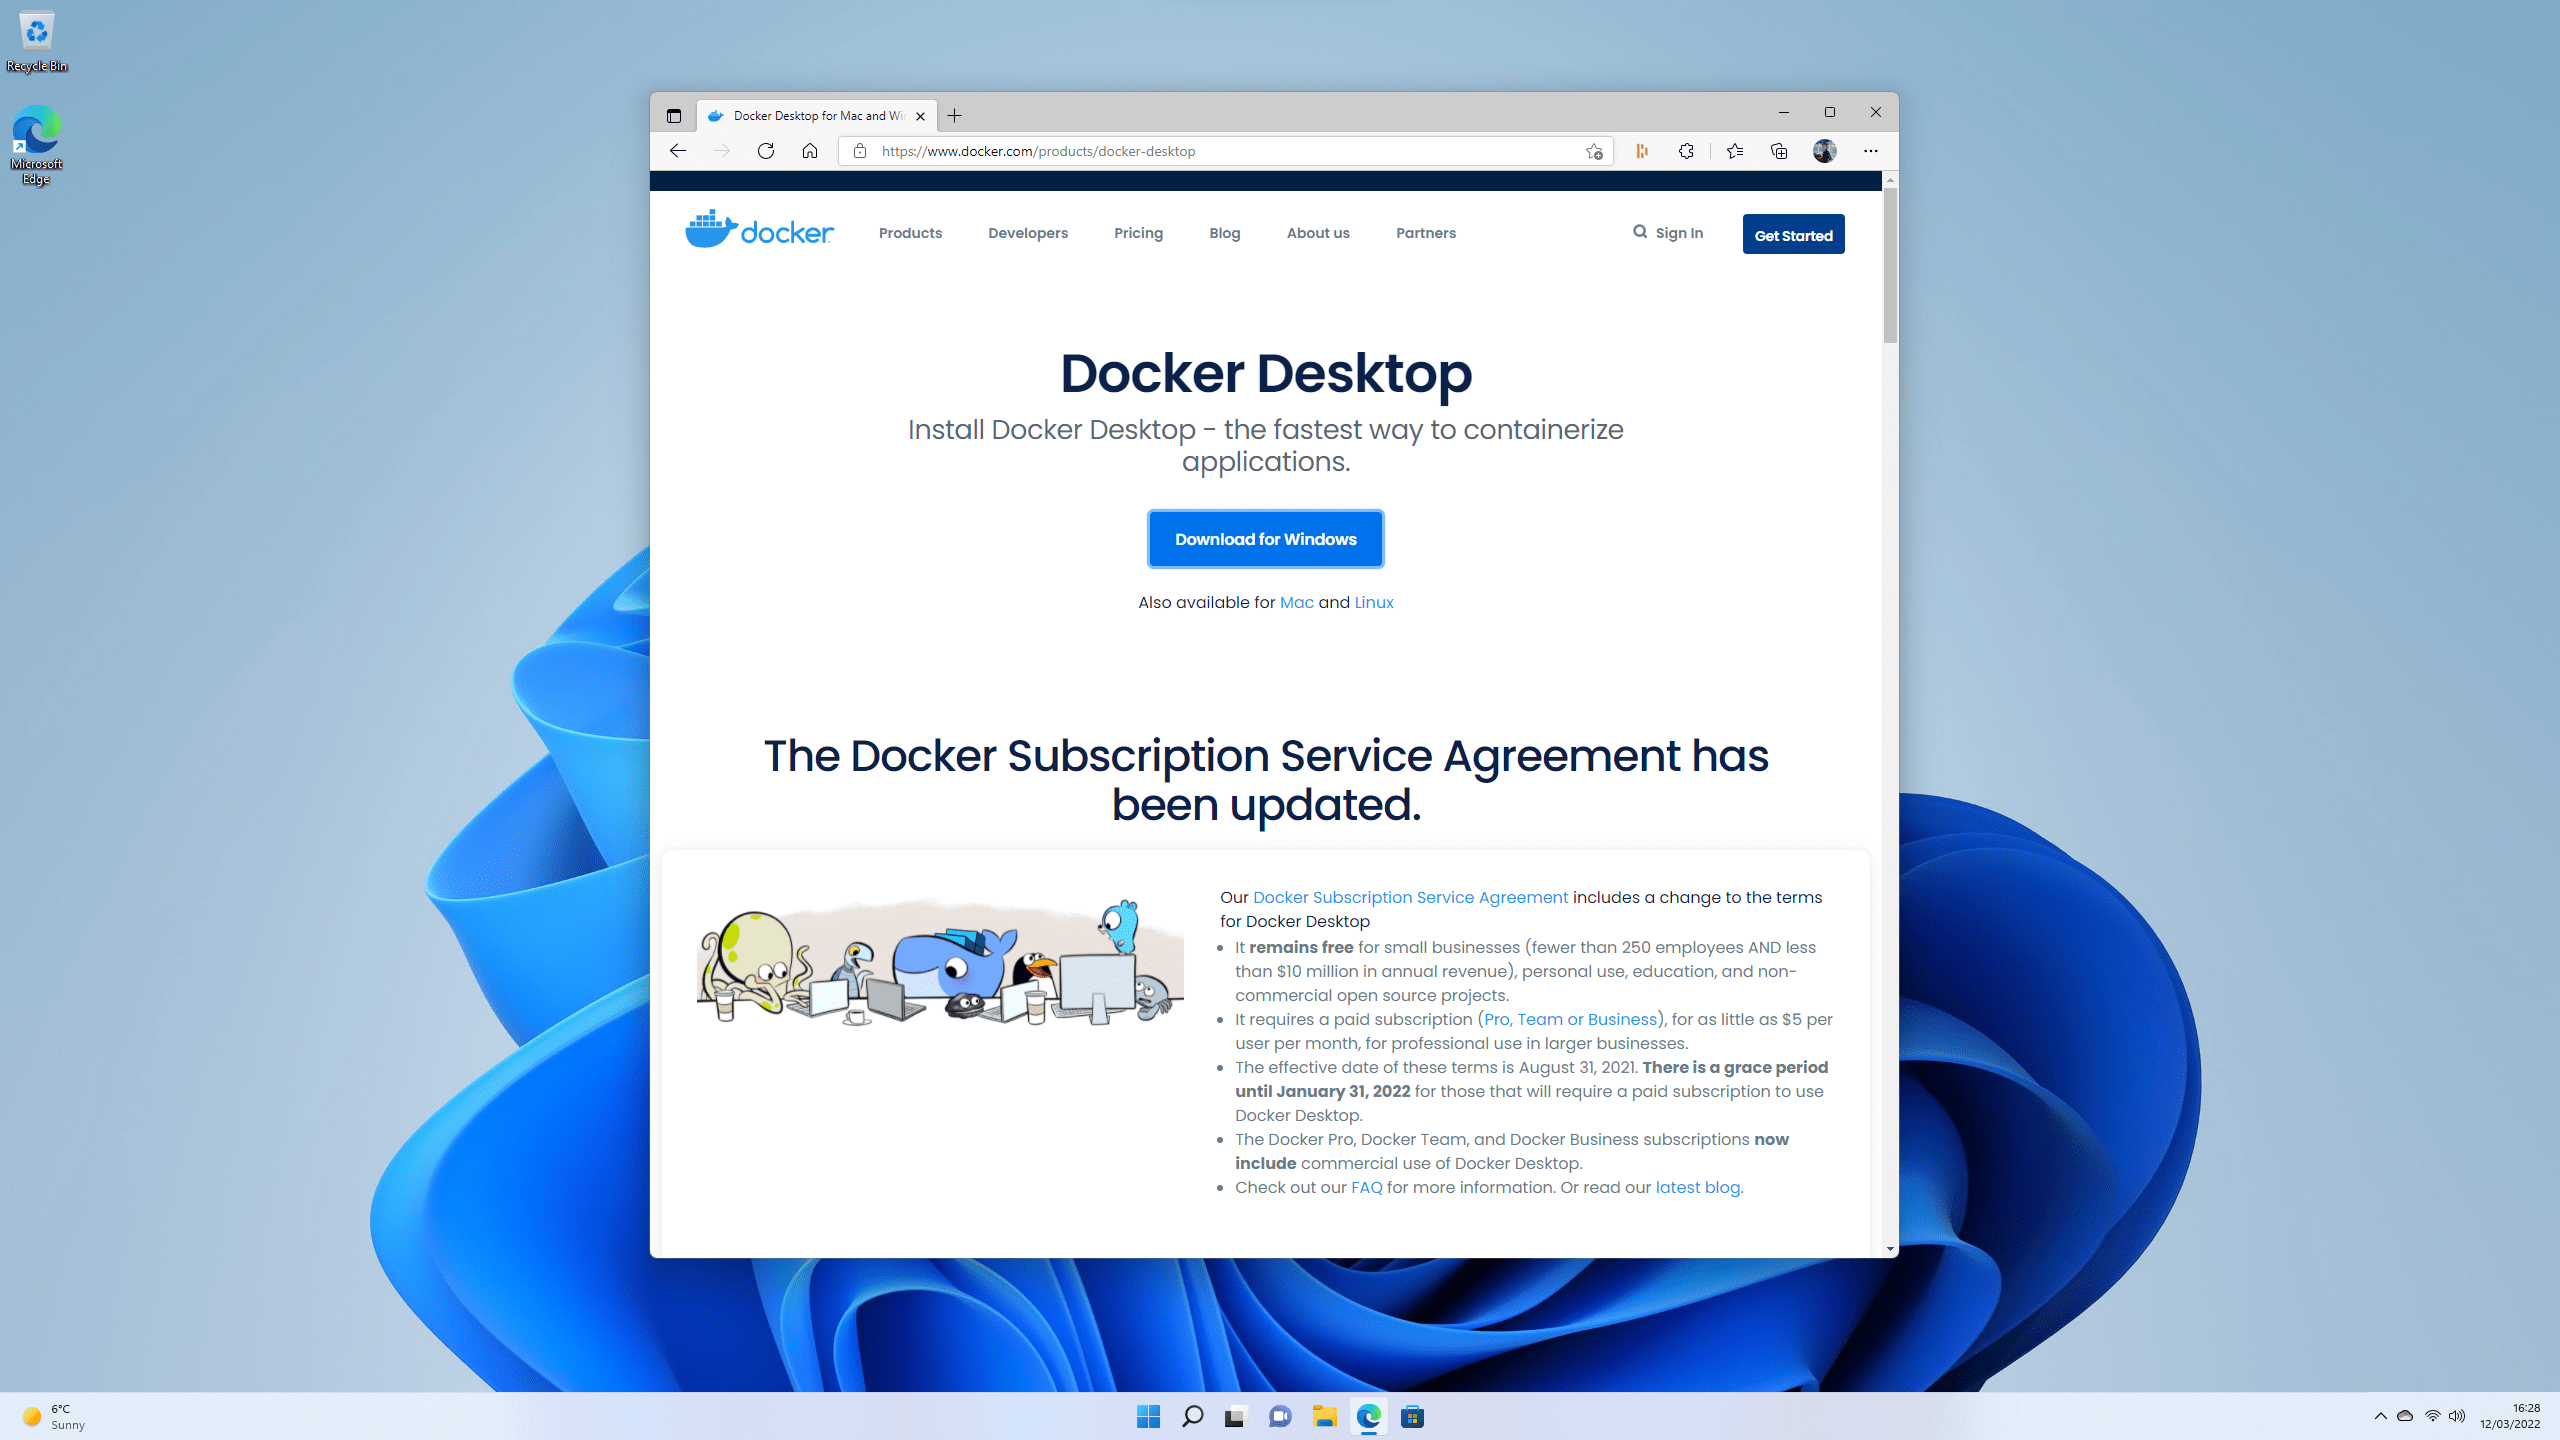
Step 1 - Download and install Docker for Windows
Download Docker for Windows.There used to be a requirement to create a Docker account, but luckily this is no longer required for personal use.
 Once downloaded, install Docker. Make sure to leave the “Install required Windows components for WSL 2” option ticked.
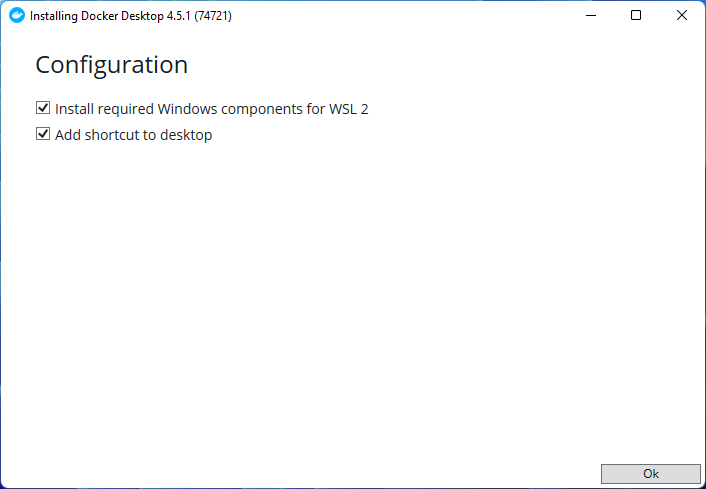 After installing you will need to reboot. Once your computer restarts, Docker should automatically start.
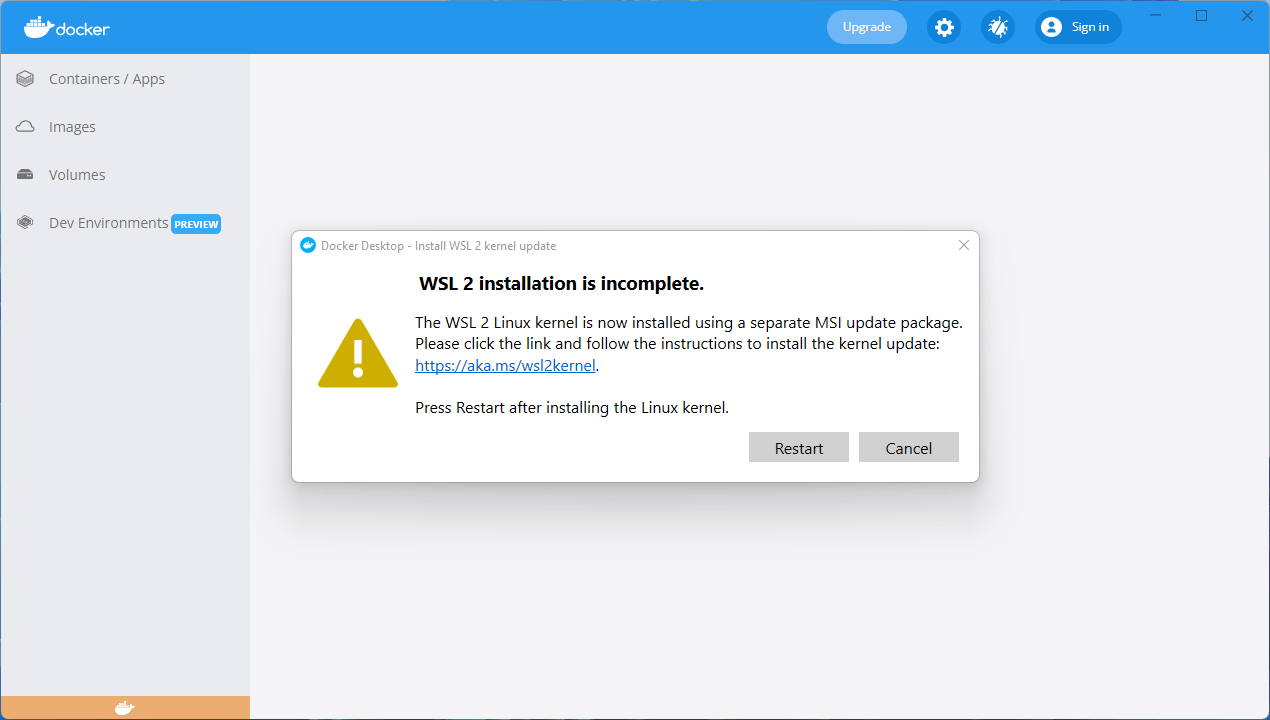 If you don’t already have WSL 2 installed, you may be prompted to download and install it separately from the Microsoft Website.
This is a small download and the installation completes very quickly. Once this is done, head back to Docker and click “Restart”. Docker should now be ready to use.
Docker will present you with a tutorial. Either walk through the tutorial, or click skip if you want to dive right in.
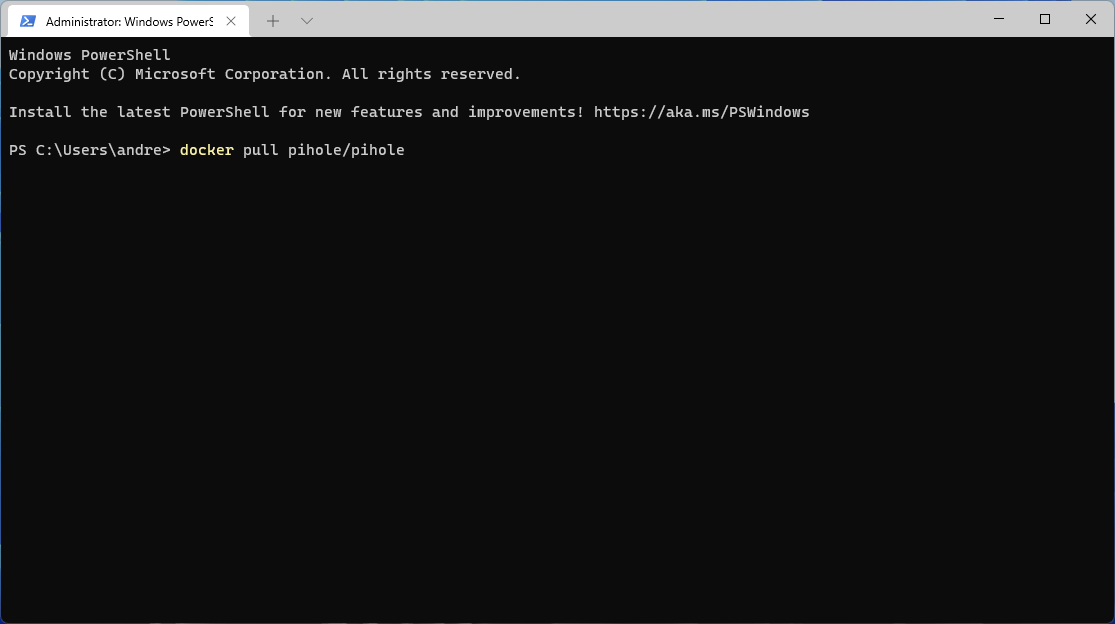
Step 2 - Download Pi-hole
To download the Pi-hole container, open Windows Command Prompt as an administrator and type the following command: docker pull pihole/pihole
Pi-hole will now download into a Docker container.
Step 3 - Give your PC a static IP address
The next step is to give your Windows PC a static IP address so it can be reliably reached on your network. To do this, head to Windows Settings (right click on the start button and click “Settings”).
- Select “Network & internet” from the sidebar menu.
- Click on WiFi, (or Ethernet if you’re using a wired connection). Then click on the network properties item. This will most likely be prefaced with your network name.
- Half way down the page, click “Edit” alongside IP assignment.
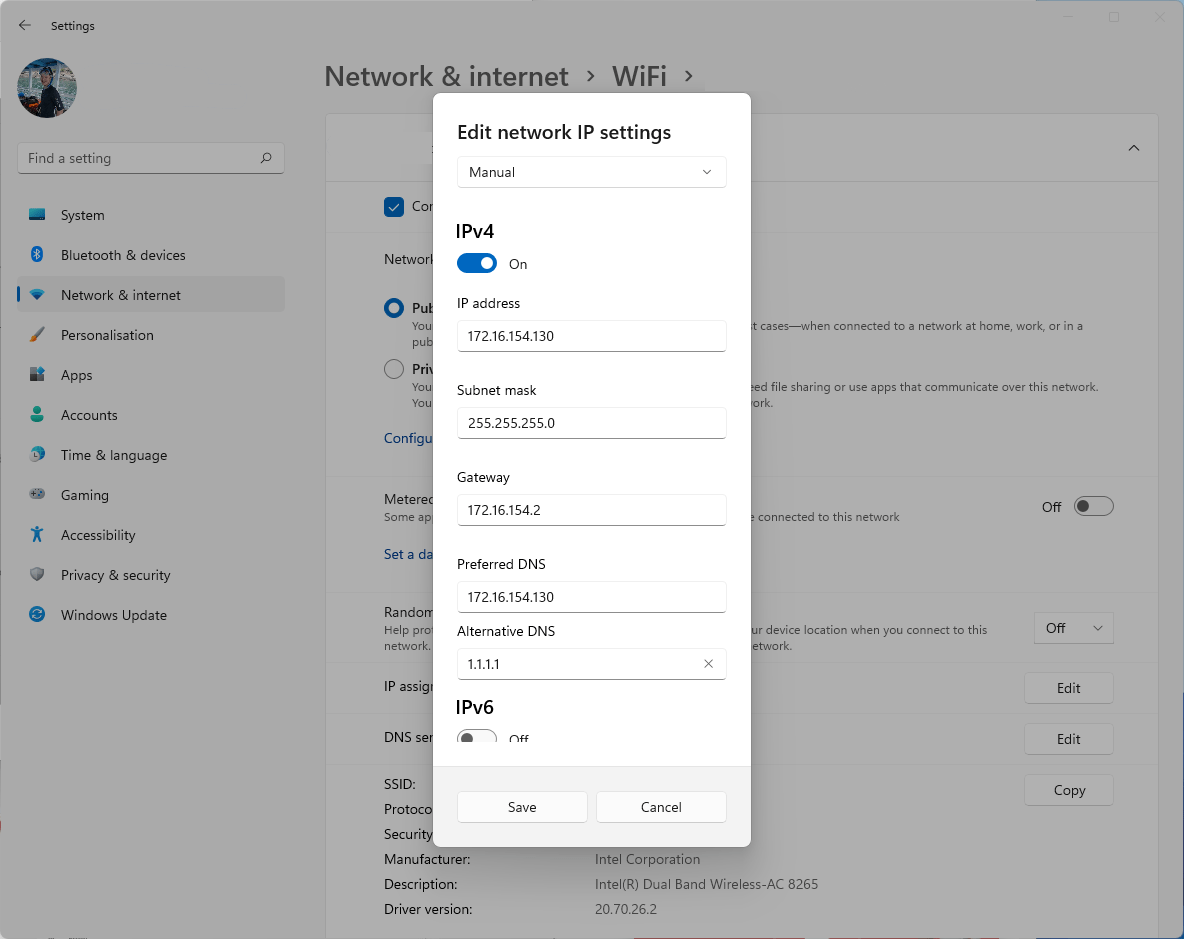
- This will launch the “Edit network IP settings” dialog. Select manual from the dropdown list.
- In the dialog that pops up, set a manual IP address.
 Tips for setting a static IP address:
- Set a manual IP address. If you are unsure what to use for the subnet mask or default gateway, type
ipconfigin the command prompt and reuse the same values for the IP address. - I recommend increasing the last number of your IP address by 50 or so to make IP address conflicts less likely on your network. For example, if your IP address was 192.168.0.5 try 192.168.0.55.
- For DNS settings, use the IP address of your machine you have just set and for an alternative use
1.1.1.1.(this is Cloudflare’s DNS service). - You only need to configure IPv4.
Step 4 - create a customized Docker command
Now Docker is running and Pi-hole is downloaded we can configure and start it. You will need to customise your script. Here’s a base:
docker run -d --name pihole -e ServerIP=172.16.154.130 -e WEBPASSWORD=password -e TZ=Europe/Copenhagen -e DNS1=127.17.0.1 -e DNS2=1.1.1.1 -e DNS3=1.0.0.1 -p 80:80 -p 53:53/tcp -p 53:53/udp -p 443:443 --restart=unless-stopped pihole/pihole:latest
You will need to replace:
ServerIPwith your IP addressWEBPASSWORDwith a password of your choosing (you’ll use this to access Pi-hole’s settings)TZ=this is optional. You can specify your timezone in the TZ format
Note: DNS1 needs to be left as 127.17.0.1 in order for Pi-hole to work. If you’re curious, 127.17.0.1 is the IP address for Localhost (or in other words this computer). You can change DNS2 and DNS3 to whatever you like.
The base script above will get you up and running, however if you want to customise how Pi-hole works, there are a number of variables you can set as part of this script.
You’ll also find more information and documentation on the Docker Pi-hole Docker Github page.
Step 5 - run your script and start your Pi-hole server
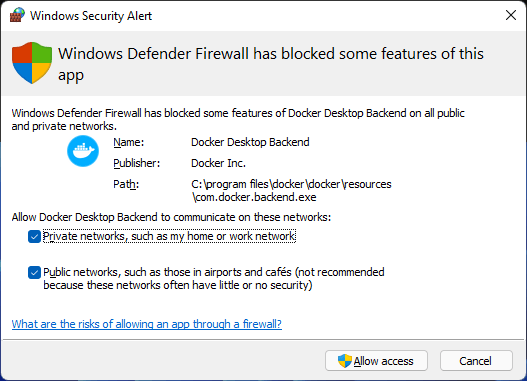
Open command prompt as an administrator again and paste in your customised command and press enter. This will create your Pi-hole Docker container and run it. You may receive a Windows Firewall pop-up. I’d recommend allowing access to both public and private networks to avoid any problems. And that’s it!
Step 6 - Check Pi-hole is up and running
Go to your web browser and type - http://127.17.0.1/admin/ or http://localhost/admin/ you should see the Pi-hole admin console. This means you’re up and running!
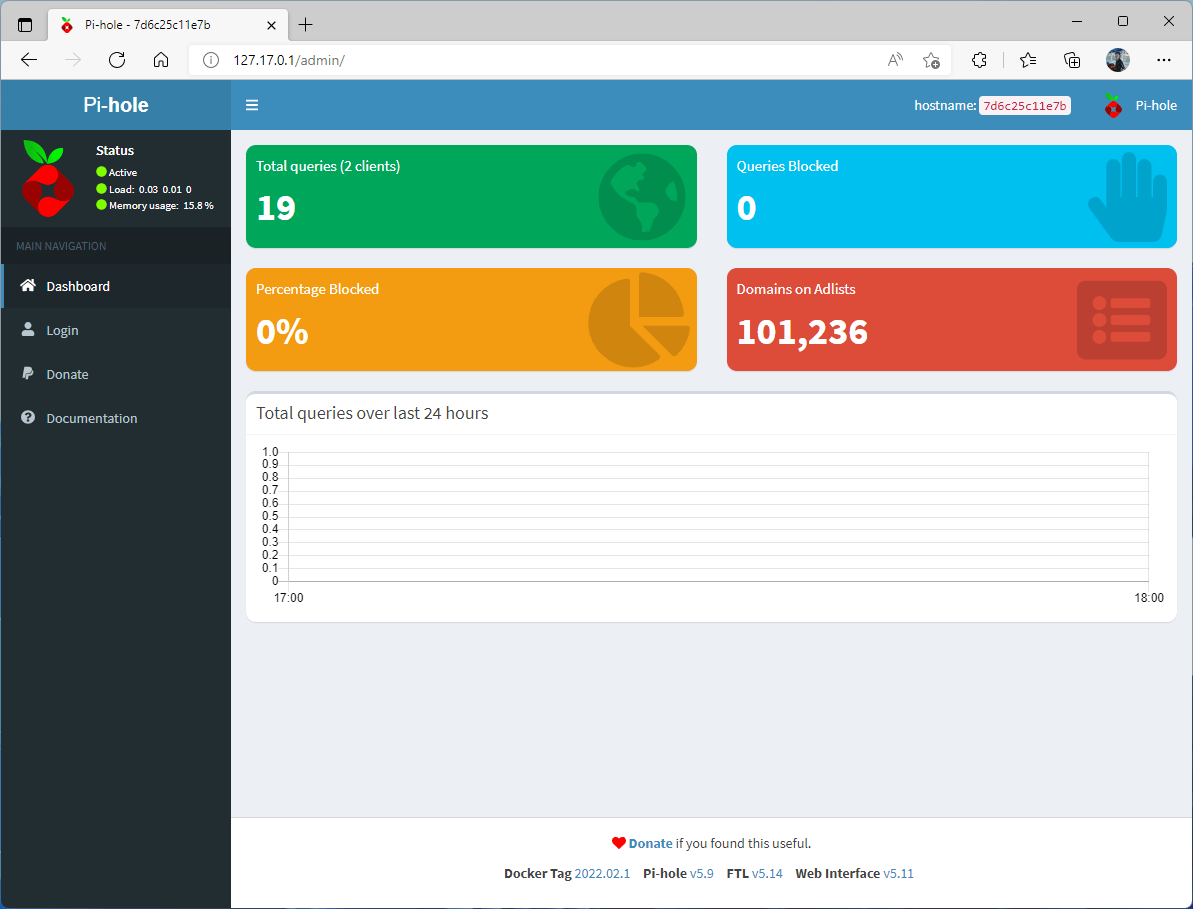 The Pi-hole admin console lets you configure the advanced settings of Pi-hole, see which domains have been blocked as well as blacklisting or whitelisting new domains.
Step 7 - Configure your router
The final step is to change the DNS server on your router to point to your PC. In my case this is 172.16.154.130. This will ensure all of the devices on your network get Pi-hole’s ad blocking magic.
Congratulations! At this point, you should have a Pi-hole protected home. I’ll make sure to update this guide from time-to-time. In the meantime, feel free to comment with any questions or feedback!
FAQs
There’s an extensive FAQ section on my previous article focused on setting up Pi-hole on Windows 10. A lot of the FAQs are still relevant.
Leave a reply